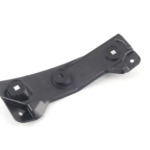
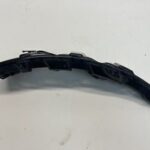
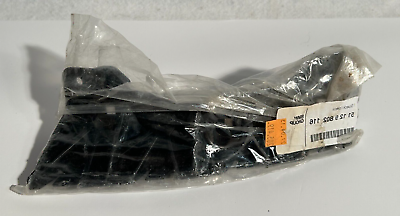
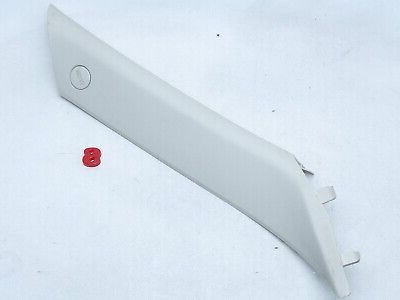
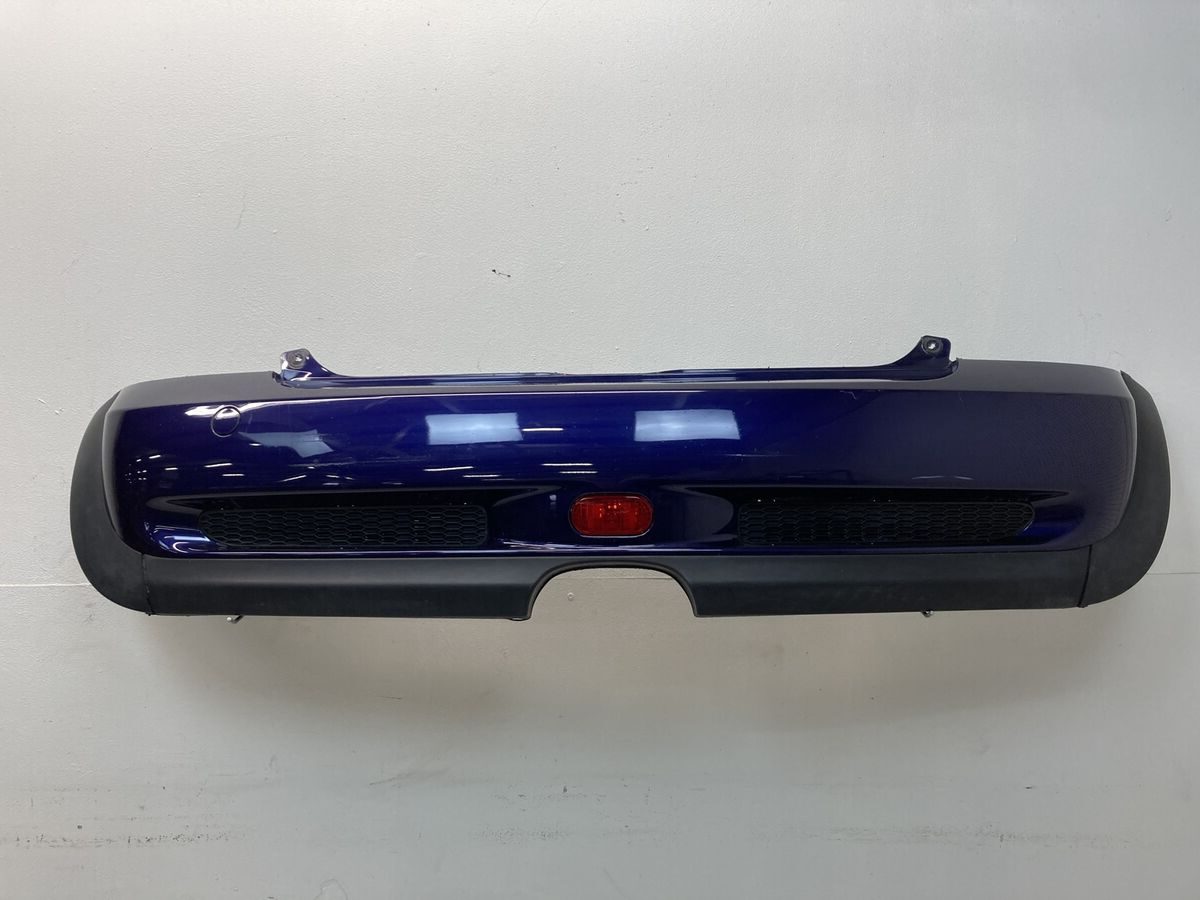
Mini Cooper Countryman Paceman S Front Bumper Replacement
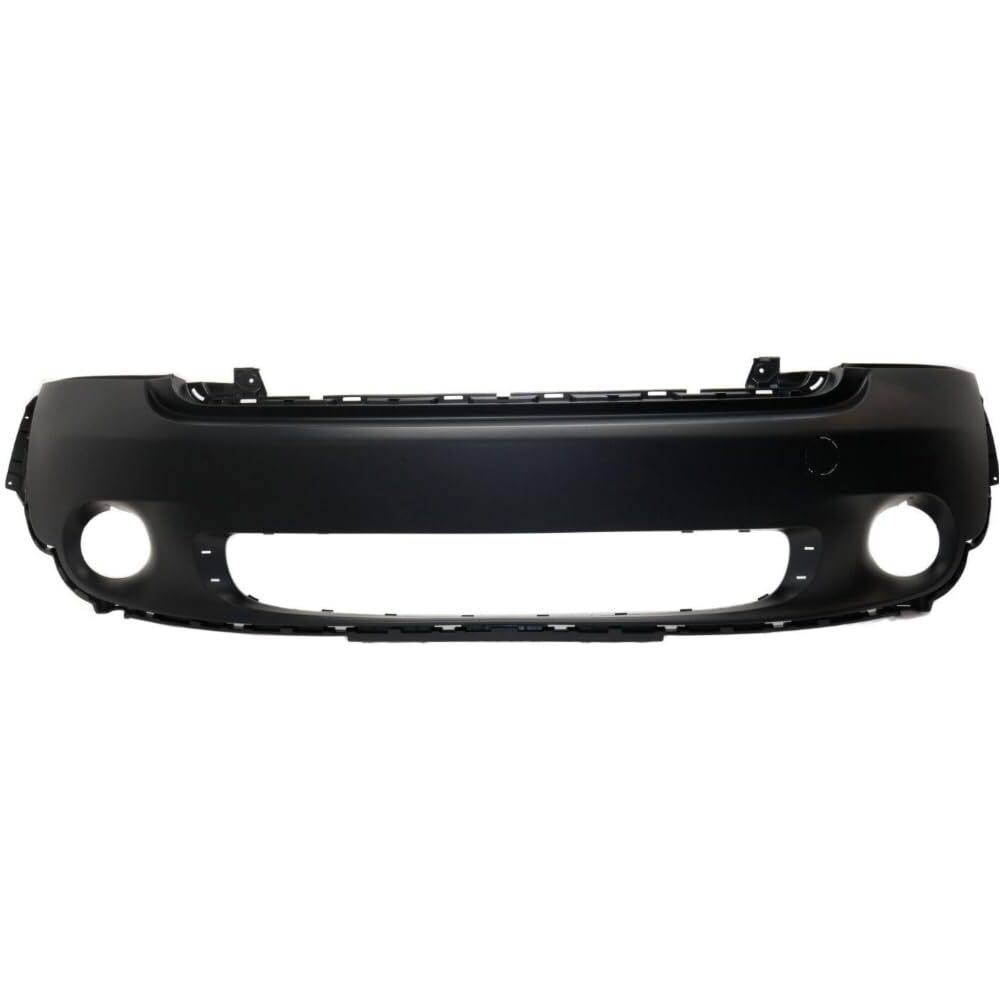
Replacing the front bumper of your Mini Cooper Countryman Paceman S can be a rewarding endeavor, enhancing both its aesthetic appeal and functionality. This guide provides a comprehensive overview of the replacement process, tools required, and tips to ensure a smooth experience.
Why Replace the Front Bumper?
The front bumper serves various crucial functions:
- Protection: It shields the vehicle's frame and engine components during minor collisions.
- Aerodynamics: A well-designed bumper improves the vehicle's overall aerodynamics.
- Aesthetic Appeal: The bumper contributes significantly to the car's appearance. A replacement can modernize your Mini Cooper’s look.
Signs You Need a Replacement
Identification of damage can save you from further issues down the line:
- Visible Cracks: Any visible cracks or bends are a clear sign of damage.
- Scratches and Dents: Accumulated wear and tear can detract from the car’s appearance.
- Improper Fit: If your bumper doesn’t fit snugly or has come loose, replacement is necessary.
Tools Required
Having the right tools on hand can streamline the replacement process:
- Socket Set: Essential for removing fasteners.
- Screwdrivers: A set of both Phillips and flat-head screwdrivers will be needed.
- Pliers: For gripping and removing clips.
- Trim Removal Tool: This helps avoid damage to surrounding panels.
- Torque Wrench: To ensure bolts are tightened to manufacturer's specifications.
Step-by-Step Replacement Process
Follow these detailed steps for a successful bumper replacement:
Step 1: Prepare the Vehicle
Always start by ensuring safety:
- Park on a level surface.
- Disconnect the battery to prevent electrical issues.
- Wear appropriate safety gear, such as gloves and goggles.
Step 2: Remove the Damaged Bumper
Carefully remove the old bumper:
- Remove Fasteners: Use the socket set to unscrew any bolts or screws holding the bumper in place.
- Detach Clips: Gently use the trim removal tool to pop out clips without damaging the bodywork.
- Disconnect Wiring: If your bumper has fog lights or sensors, carefully unplug these connections.
- Remove the Bumper: With everything detached, gently pull the bumper away from the vehicle.
Step 3: Prepare New Bumper
Before installation, inspect your new bumper:
- Check Fit: Ensure that the bumper is compatible with your specific Mini Cooper model.
- Inspect for Damage: Look for any cracks or blemishes.
Step 4: Install the New Bumper
Carefully attach the new bumper:
- Position the Bumper: Align the new bumper with the car body, ensuring all clips and mounts are ready for connection.
- Reconnect Wiring: Plug in any fog lights or sensors that were previously disconnected.
- Secure with Fasteners: Tighten bolts and screws with the socket set, ensuring even distribution to avoid misalignment.
- Attach Clips: Clip in any plastic retainers that secure the bumper to the body.
Step 5: Final Checks
Before finishing up, perform these checks:
- Test Alignment: Ensure the bumper is aligned perfectly with the body panels.
- Reconnect Battery: Reconnect the battery and check for any electrical issues.
- Inspect Appearance: Step back and verify that the new bumper looks right.
Maintenance Tips
To extend the life of your new bumper, consider these maintenance suggestions:
- Regular Cleaning: Keep your bumper clean to prevent dirt build-up and corrosion.
- Avoid Heavy Impacts: Drive cautiously to minimize the risk of damage.
- Protective Coatings: Consider a protective wax or coating to shield against minor scratches.
Replacing the front bumper of your Mini Cooper Countryman Paceman S is well within reach with the right tools and a bit of effort. Stay organized, follow the steps carefully, and enjoy your revitalized vehicle!

