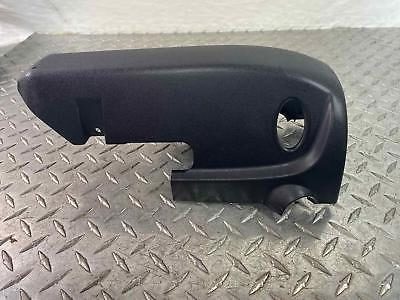
Mini Countryman Right Rear Lower C-Pillar Trim Replacement
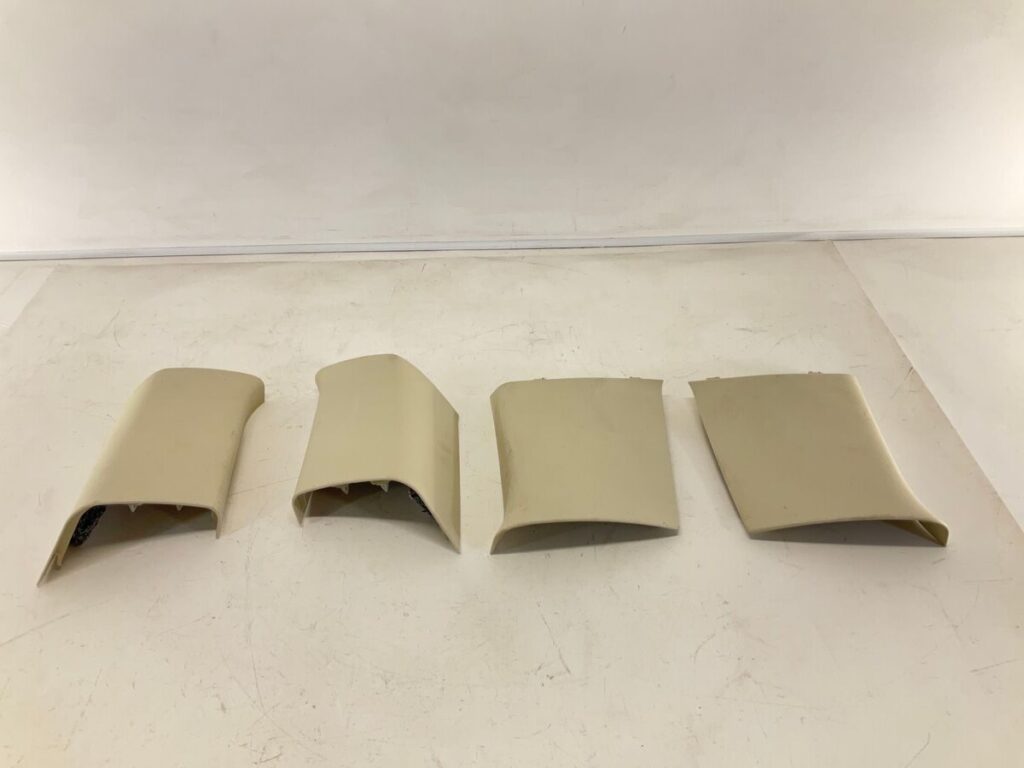
Mini Countryman Right Rear Lower C-Pillar Trim Replacement
Overview
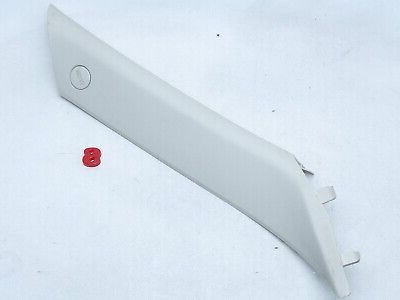
The right rear lower C-pillar trim of the Mini Countryman plays a crucial role in both the aesthetics and structural integrity of the vehicle. Over time, this component may suffer from wear and tear, requiring replacement. This guide provides a comprehensive outline for replacing the right rear lower C-pillar trim, ensuring a seamless process.
Tools and Materials Needed
Before you begin the replacement process, gather the necessary tools and materials:
- Screwdriver Set: A variety of flathead and Phillips screwdrivers.
- Plastic Trim Removal Tools: To avoid damaging the surrounding areas.
- Replacement Trim Piece: Ensure it is compatible with your Mini Countryman model.
- Cleaning Supplies: Mild soap, water, and microfiber cloth for cleaning prior to installation.
- Adhesive (if needed): To secure the trim in place.
Steps to Replace the C-Pillar Trim
1. Preparation
Start by preparing the area where you'll be working:
- Park the vehicle on a flat surface and engage the parking brake.
- Open the rear door for easier access to the C-pillar area.
- Remove any items or obstructions that may interfere with the replacement process.
2. Removal of the Old Trim
Carefully remove the damaged or worn C-pillar trim:
- Using a plastic trim removal tool, gently pry off the existing trim. Start at the edge and work your way along to avoid breaking clips.
- Look for screws or clips securing the trim. Remove them with your screwdriver set.
- Once all fasteners are out, carefully detach the trim piece from the vehicle.
3. Cleaning the Area
Before installing the new trim, make sure to clean the area:
- Use a mild soap solution and a microfiber cloth to clean any dirt, grime, or adhesive residue.
- Ensure the surface is dry and free of any debris.
4. Installing the New Trim
Now it's time to install the new C-pillar trim:
- Position the new trim piece accurately, aligning it with any existing holes for screws or clips.
- Secure the trim using the same screws or clips removed earlier. Ensure a snug fit to avoid rattling.
- If the design requires adhesive, apply it carefully to the appropriate areas and press the trim into place.
5. Final Checks
After installing the new trim, conduct a thorough check:
- Ensure all clips and screws are tightened properly.
- Verify that there are no gaps between the new trim and the surrounding areas.
- Close the rear door and check the alignment and aesthetics from different angles.
Tips for a Successful Installation
- Patience is Key: Take your time during the removal and installation processes to prevent damage.
- Use the Right Tools: Utilizing the appropriate tools will ease the process and help prevent scratching or breaking surrounding components.
- Consult the Manual: Refer to your vehicle’s manual for any specific instructions or warnings related to your model year.
Common Issues and Solutions
- Trim Does Not Fit Properly: Double-check compatibility with your specific Mini Countryman model.
- Loose Trim After Installation: Re-examine fasteners; ensure they are correctly inserted and tightened.
- Paint Damage from Removal: Take extra care with trim removal tools to avoid scratching the paint.
Replacing the right rear lower C-pillar trim on your Mini Countryman not only enhances its appearance but also maintains the vehicle's integrity. Following the steps outlined will lead to a successful installation while keeping your car looking sharp and well-maintained.

